Solana-Backed Loans: Accessing Cash Without Liquidating Your Assets
Borrow against your Solana. Here's how to use your SOL as collateral and access funds within a day - without selling your cryptocurrency.
By Roshni Shaikh, Product Marketing Manager at Lantern Finance
07 Apr 2025
Need cash but don’t want to sell your SOL? Whether you're bullish on Solana's future or holding for long-term gains, selling now could mean missing out. Instead, you can use your SOL as collateral to get a loan—instantly. No need to move funds to a DeFi wallet, navigate complex protocols, or wait days for approval.
In this post, we’ll walk you through exactly how to borrow against your Solana using Lantern—a centralized lending platform designed for speed, security, and simplicity.
How to Get a Loan Against Your Solana Today
Getting started with your Solana-backed loan is simple. Follow these steps to secure your funds:
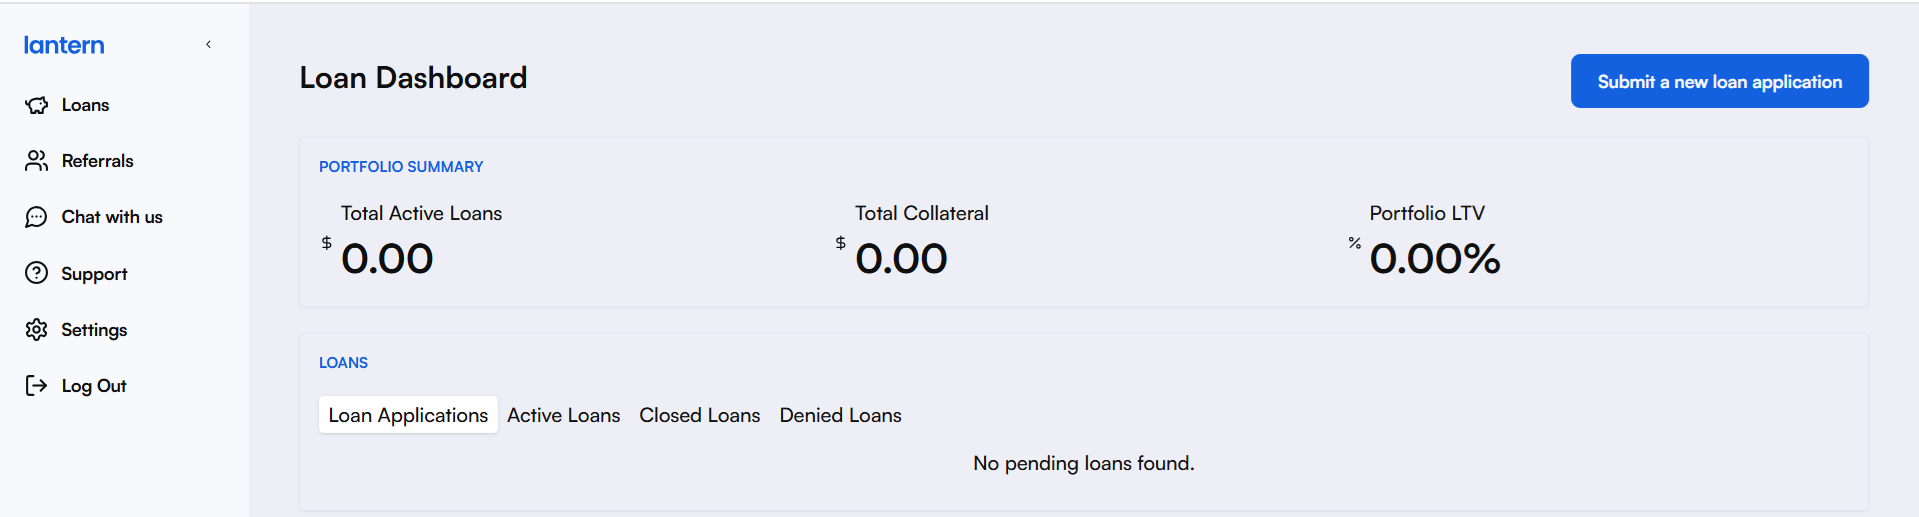
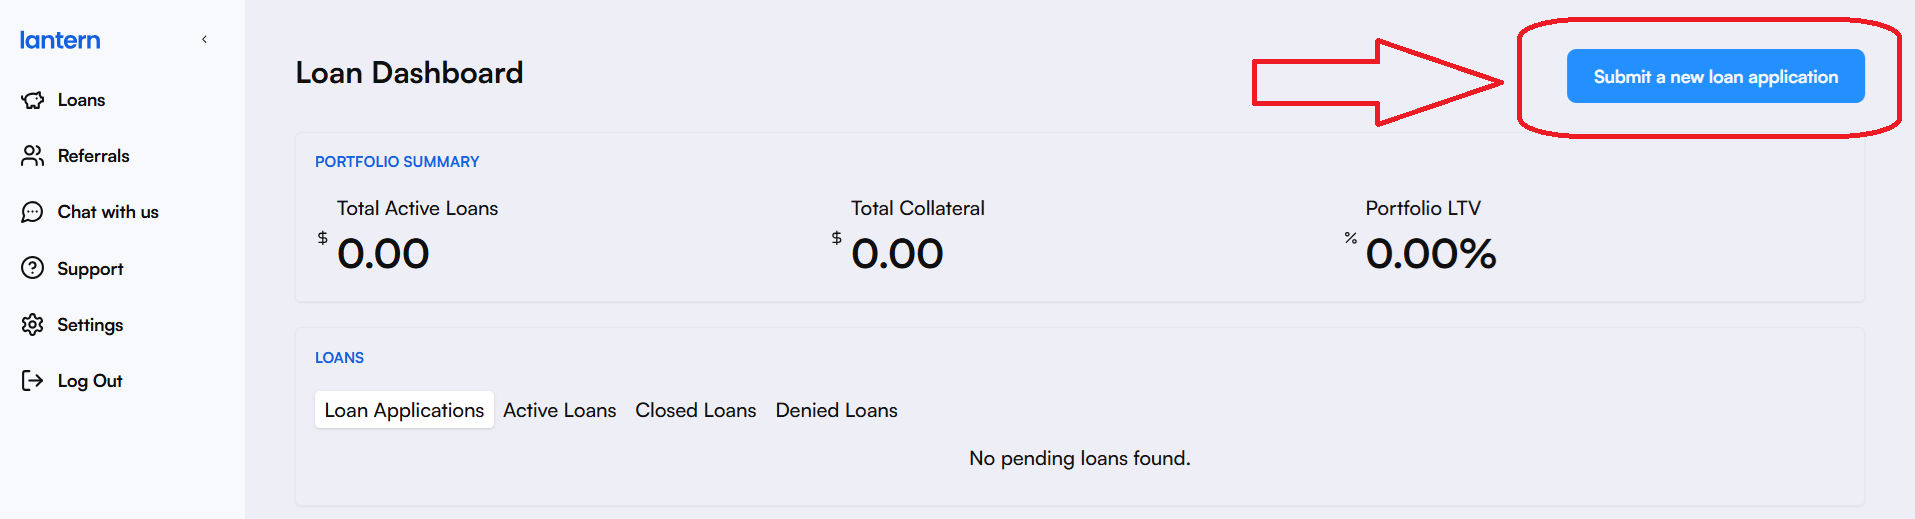
1. Sign Up or Log In – Visit Lantern Finance and create an account or log in to your existing one. This is how your dashboard looks:
2. Click on "Submit a new loan application"
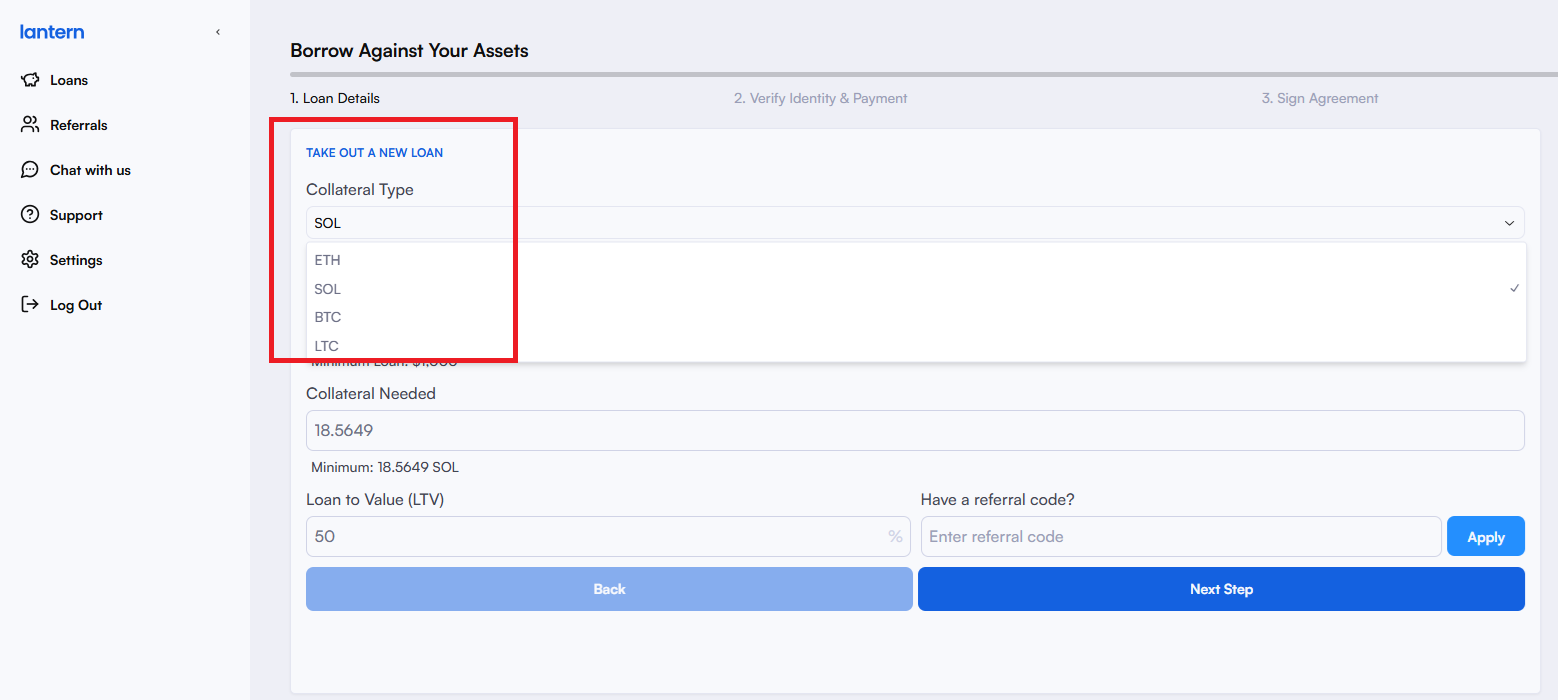
3. Pick a Collateral Type – In this case, let’s pick SOL to take out a loan against Solana:
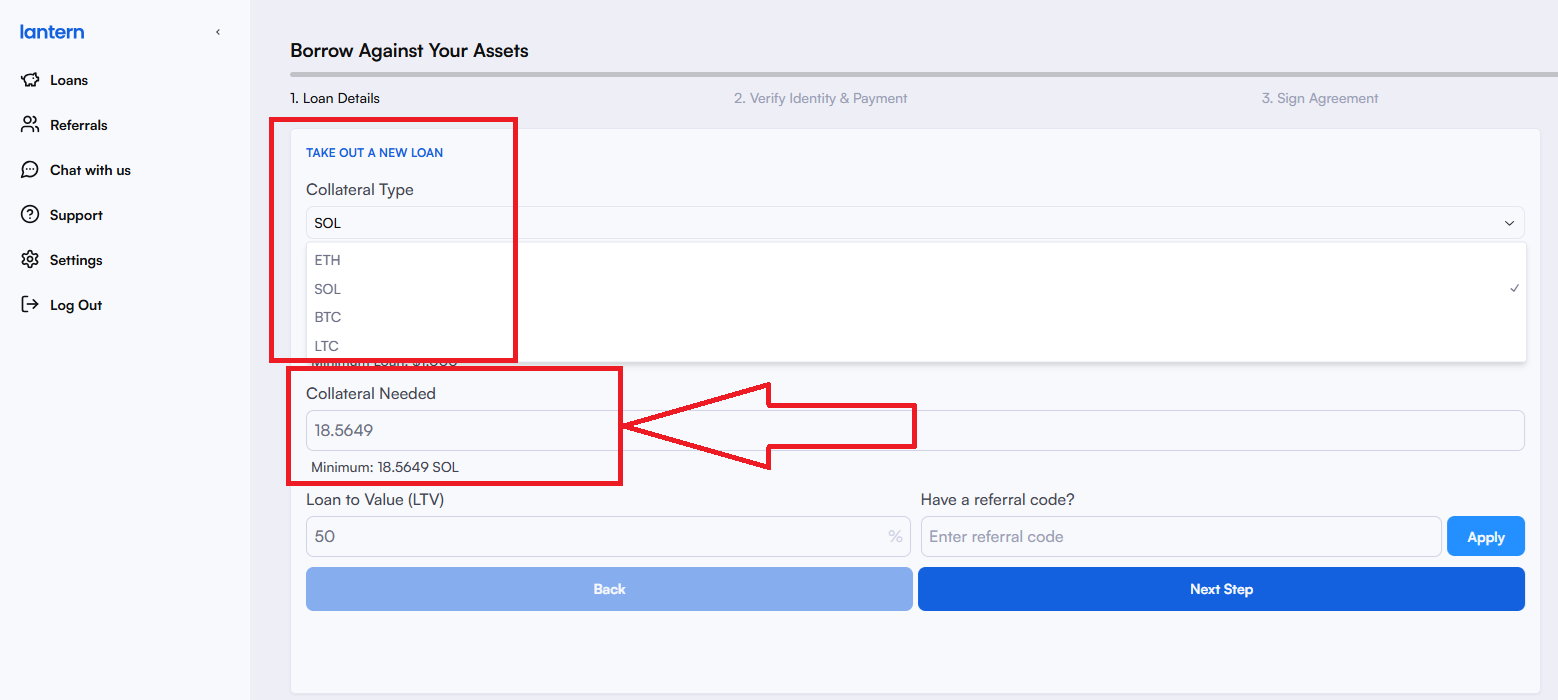
4. Check Your Loan Options – Enter the amount you want to borrow and review the loan terms, including the required Solana collateral. By default, the loan amount is set to $1000 – that’s the minimum loan amount. Based on the current value of Solana, it also shows how much collateral is needed.
Click on “Next Step” to see if your loan’s pre-approved. You should see a screen like this if your loan’s pre-approved.
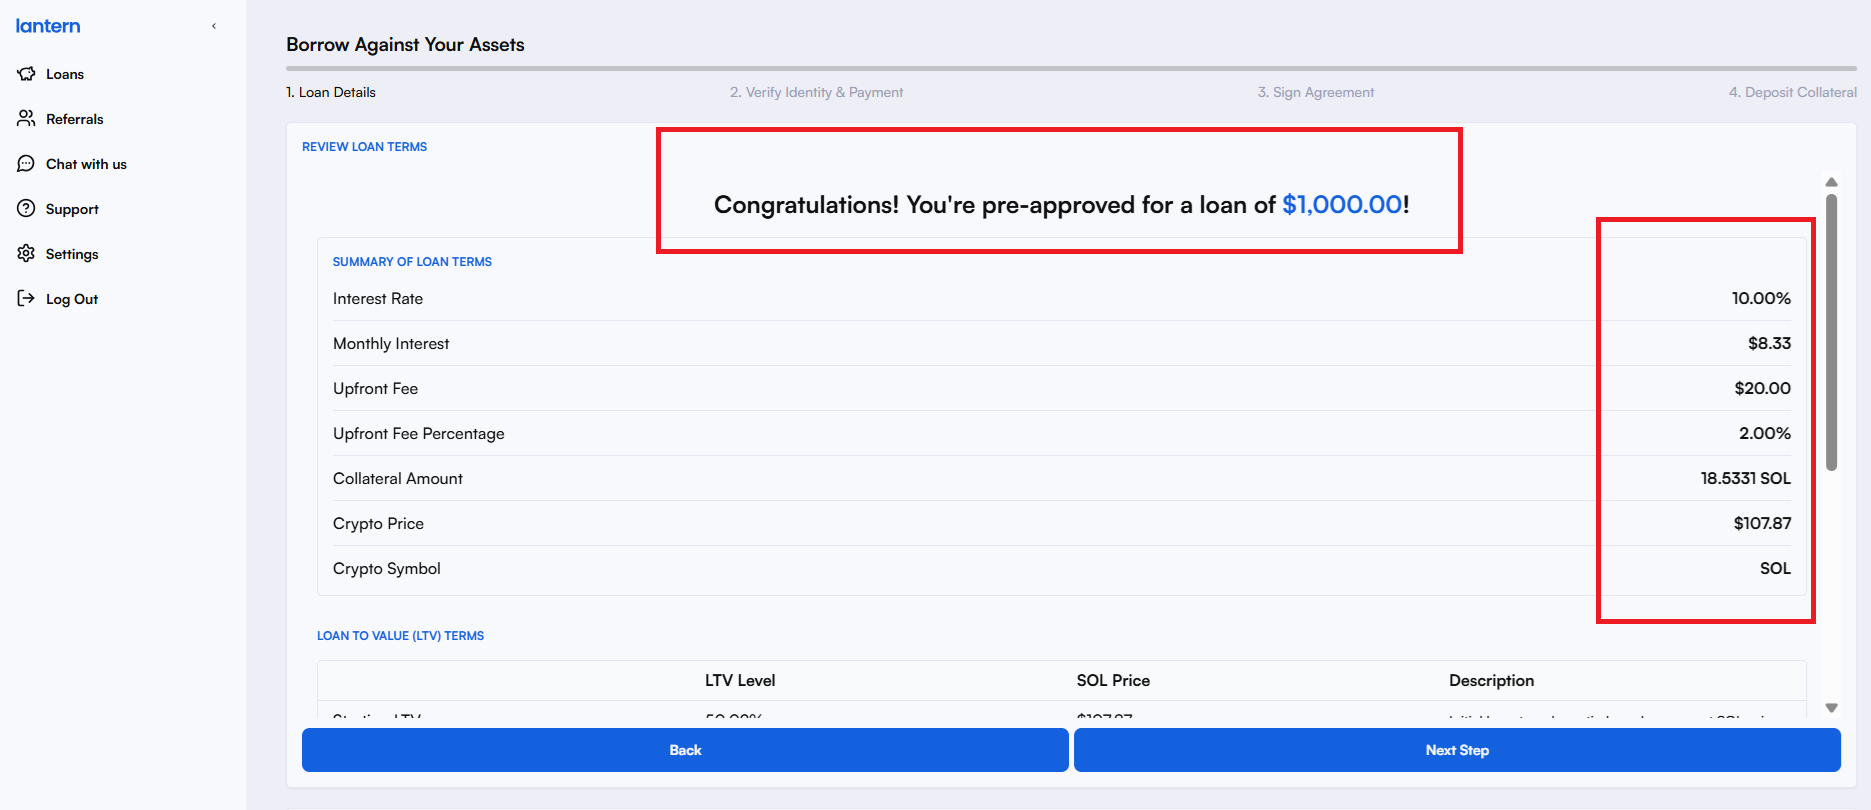
Before you click ‘Next Step, use the scroll bar to scroll down and cross-check your loan terms:
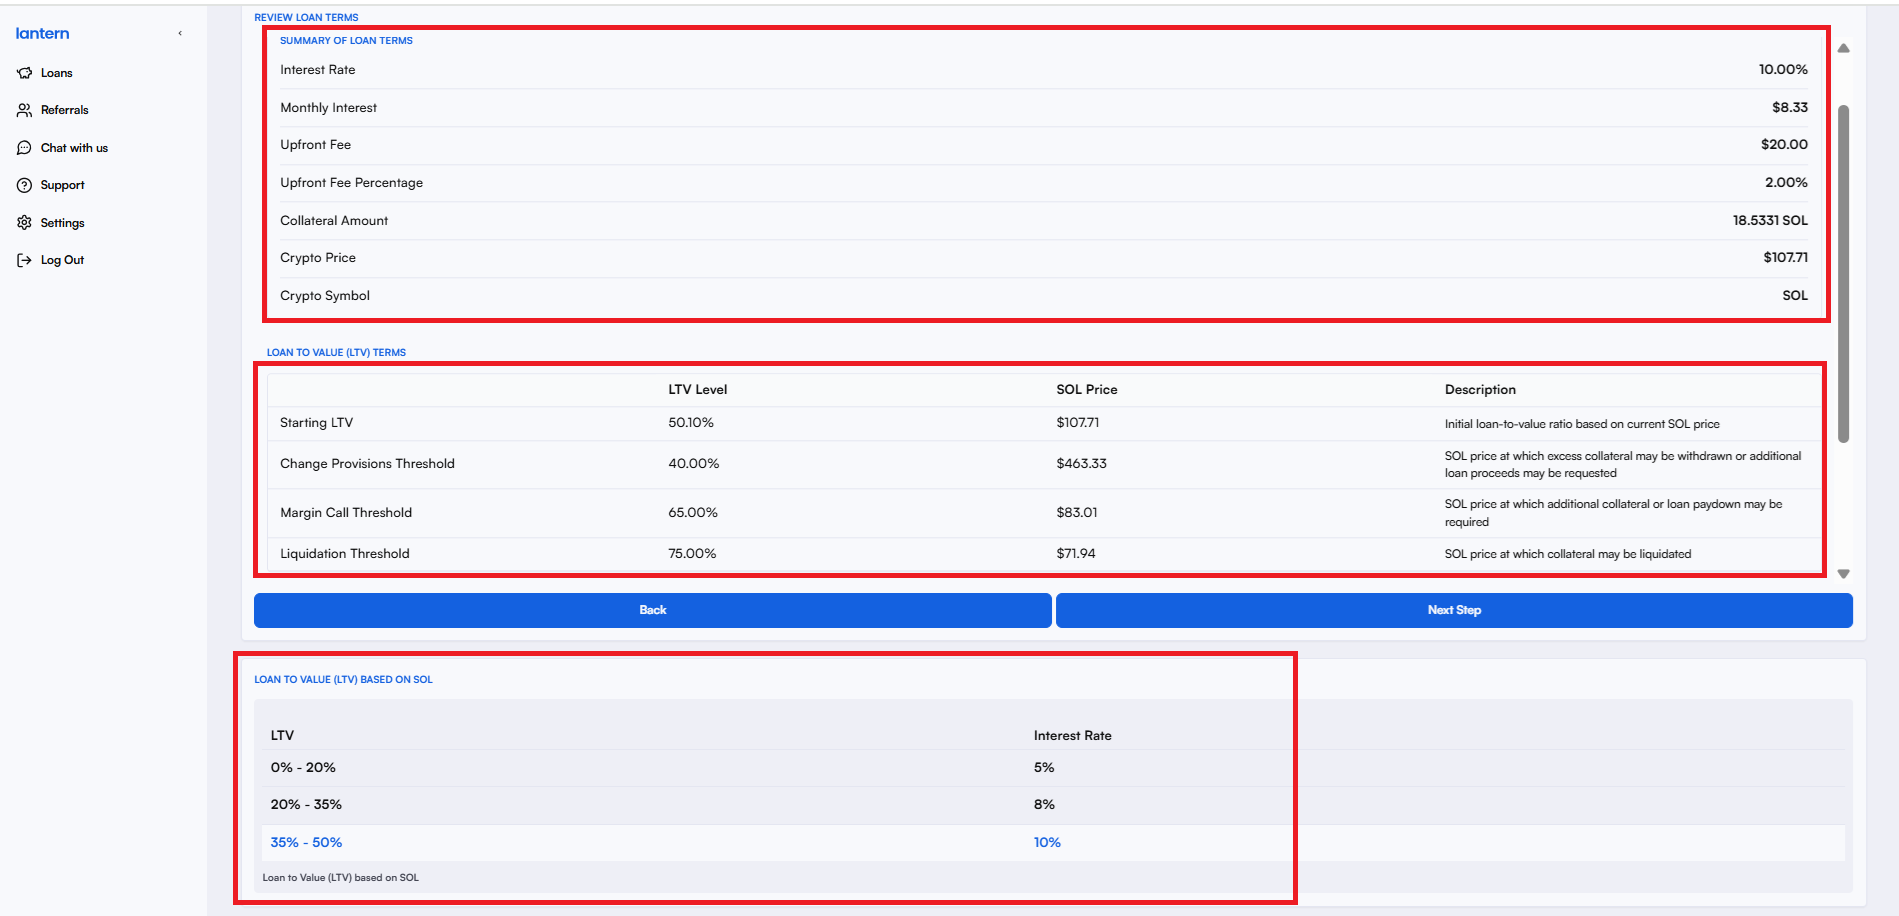
Cross-verify if you have enough crypto collateral to match the current SOL price.
See if the ‘Proceeds to Borrower’ number matches the amount you need to borrow. Double-check the numbers below before you move to the next step. If everything looks ok, click ‘Next Step’ or click ‘Back’ if you’d like to adjust your loan terms. Once you click next, you’ll be asked to verify your identity.
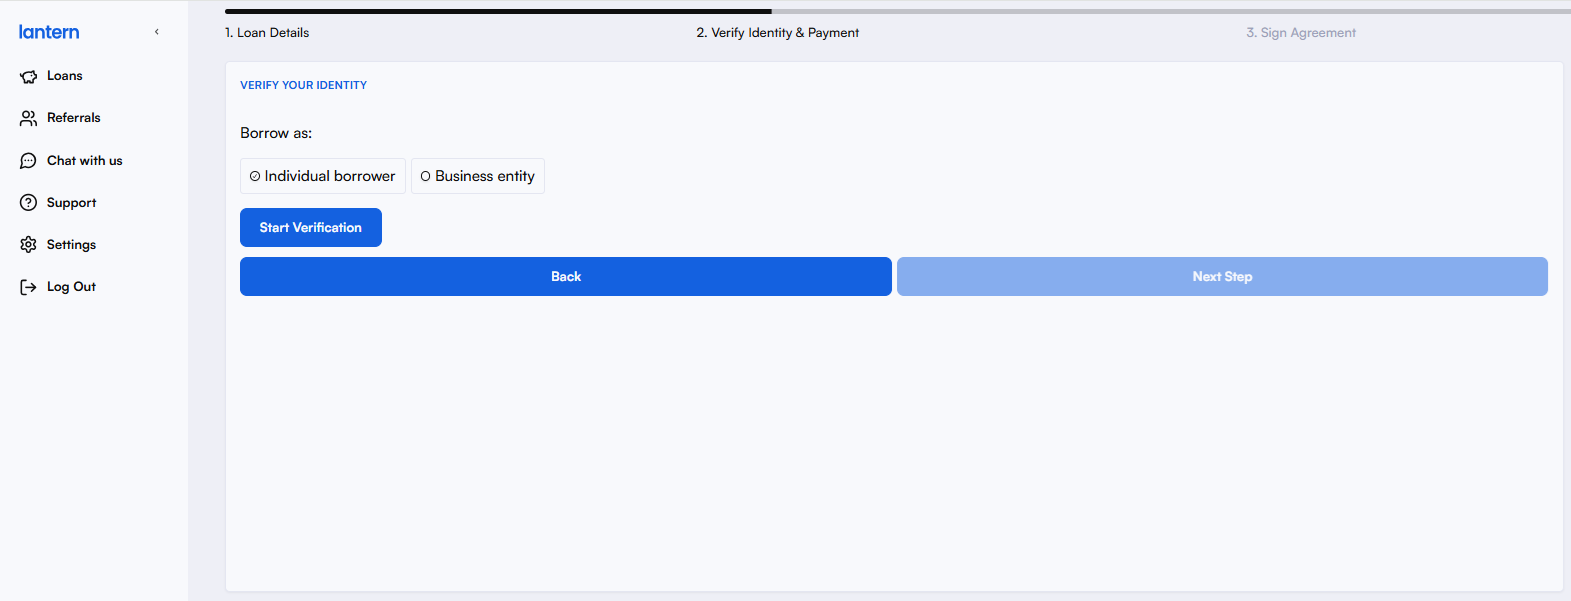
5. Verify Your Identity – If you’re a first-timer, you’ll be asked to verify your identity. If you’re an individual, select ‘Individual borrower’. If you’re taking out a loan for your business, select ‘Business Entity’ and start your verification process.
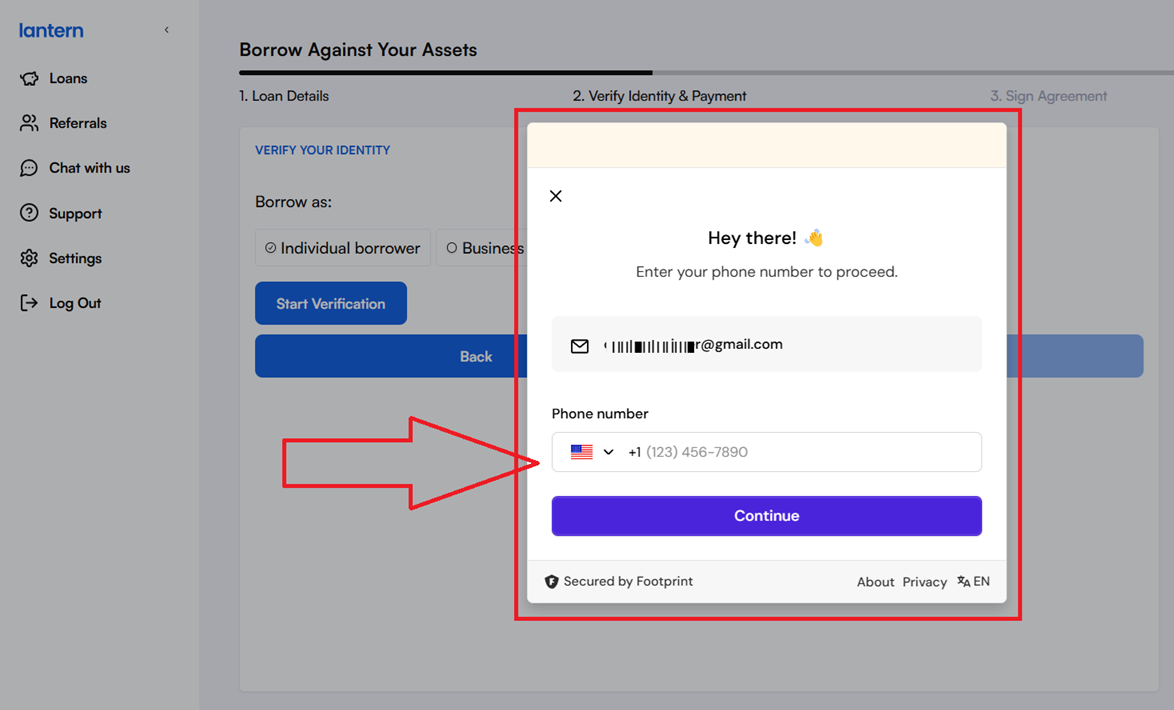
Once you start your verification process, you’ll be asked to enter your phone number. Note: Your data with Lantern is encrypted and secured by Footprint. This helps us verify our customers while blocking fraud and ensuring regulatory compliance.
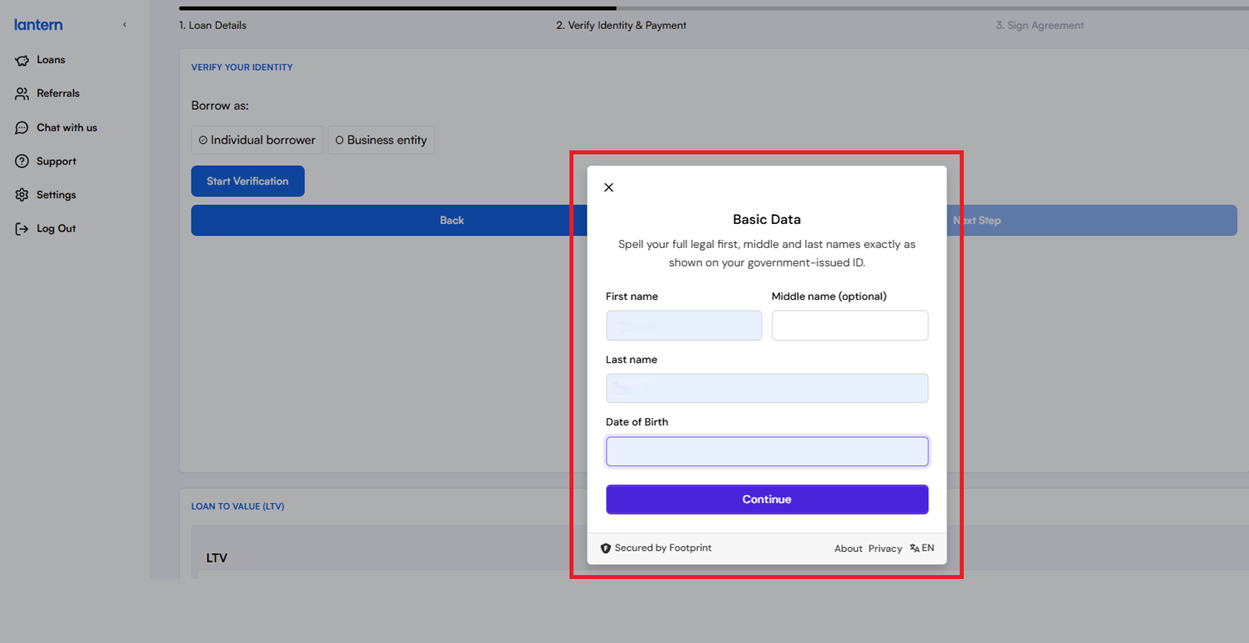
Once your number is verified, you’ll be asked to enter the following details:
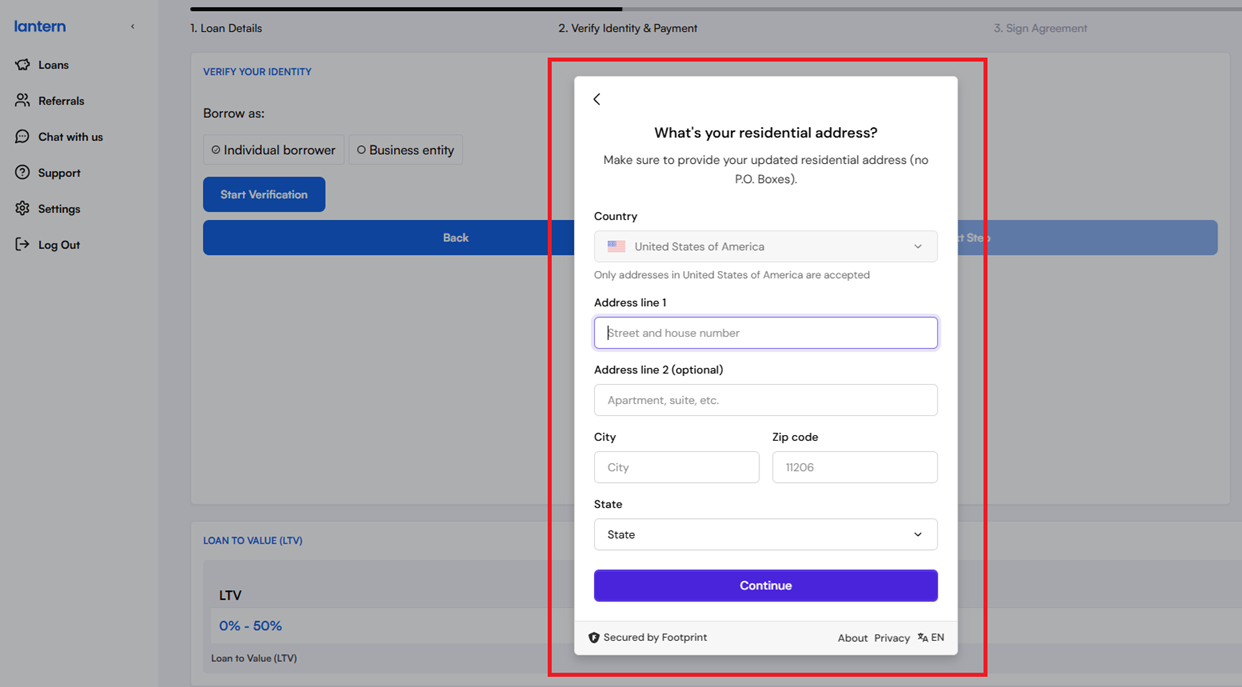
Once you click ‘Continue’, you’ll be asked to enter your address:
Once you click ‘Continue’, you’ll be prompted to enter your Social Security Number. Your data with Lantern is encrypted and secured by Footprint. This helps us verify our customers while blocking fraud and ensuring regulatory compliance.
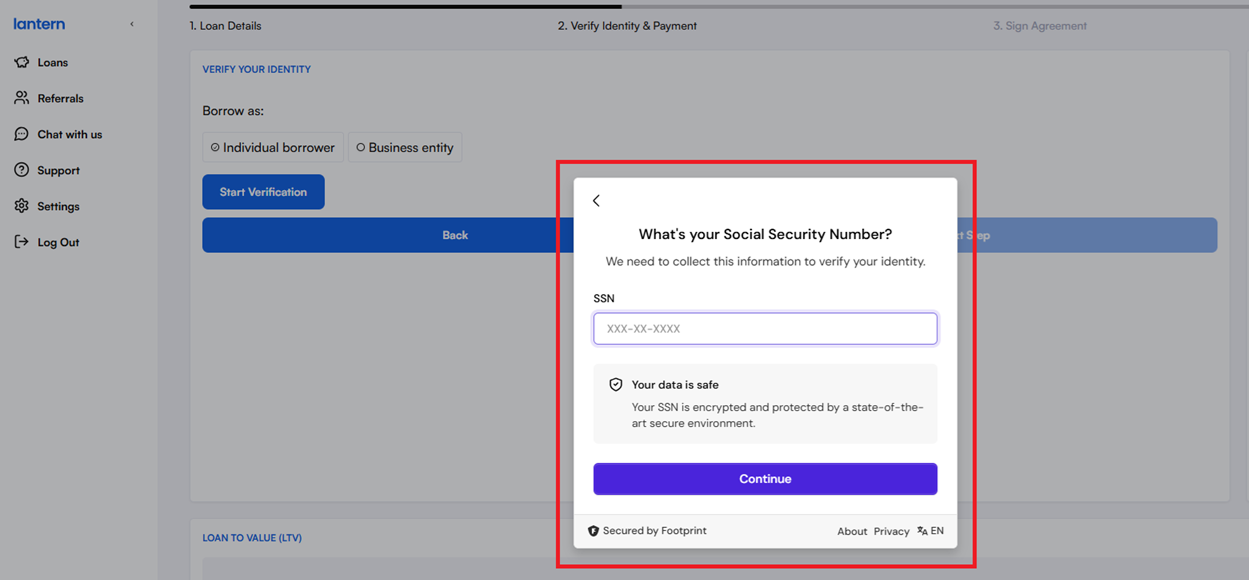
Click ‘Continue’ to complete your verification.
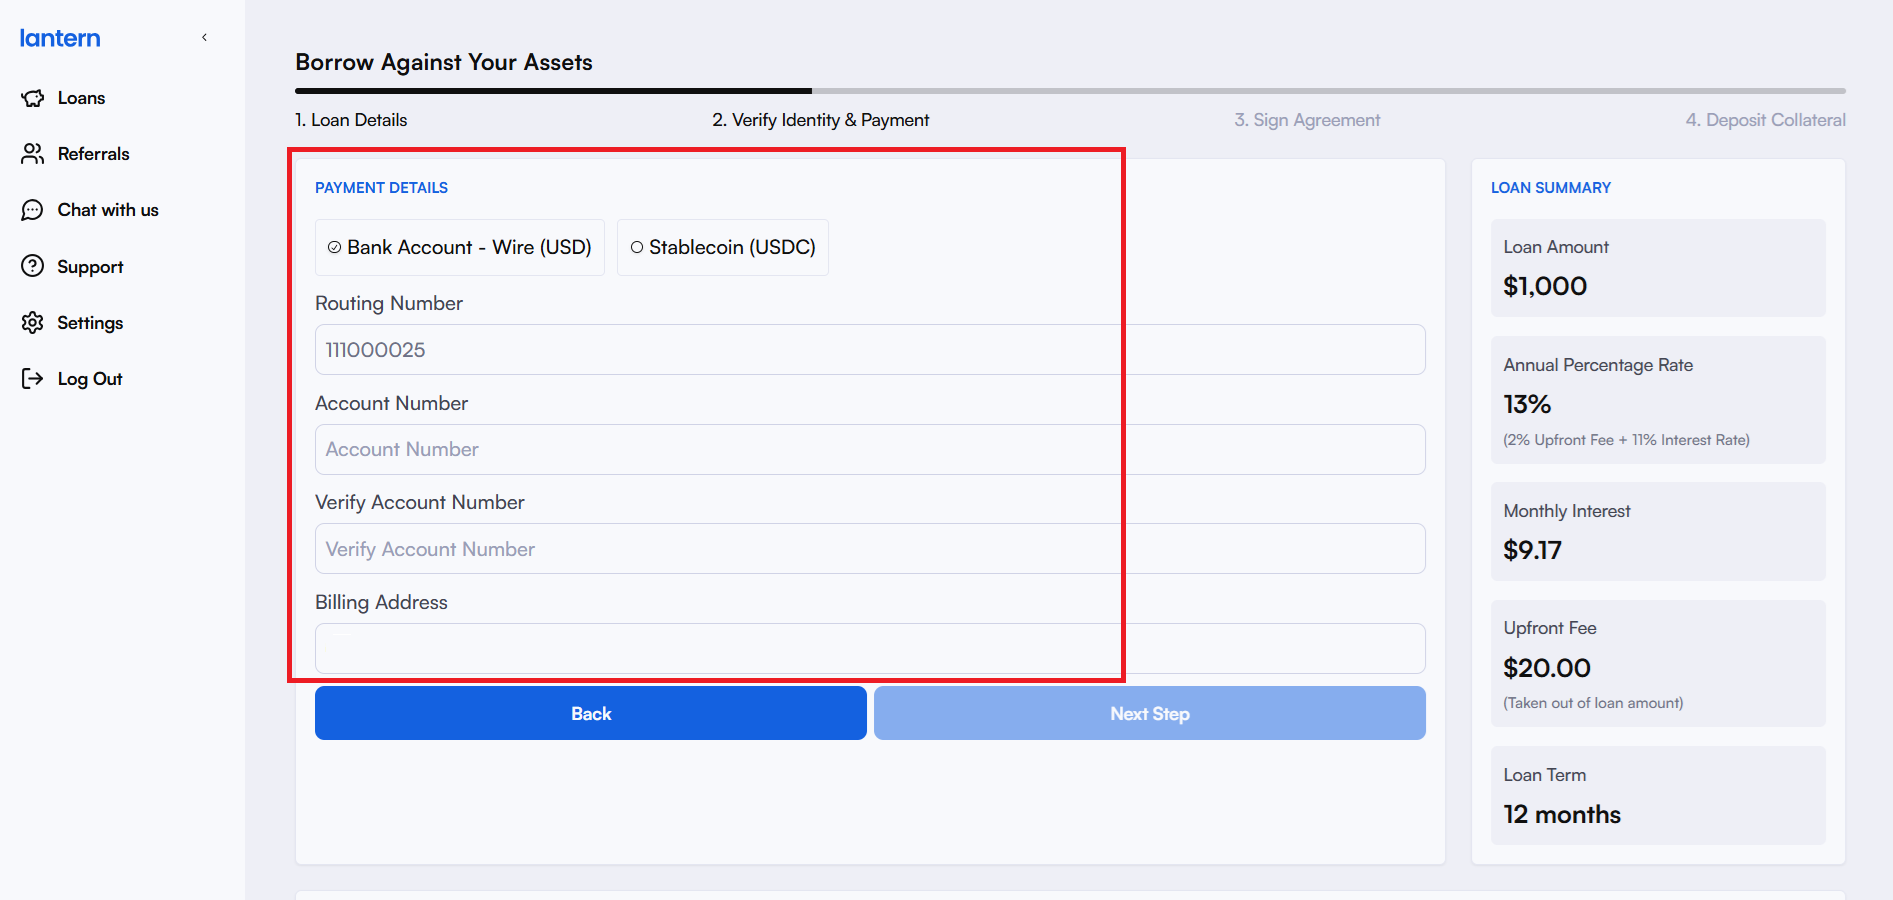
6. Add Your Bank Details – Once you’re verified with us, you can enter your bank information to receive your loan funds. You can choose to receive them via a bank transfer or in stablecoins.
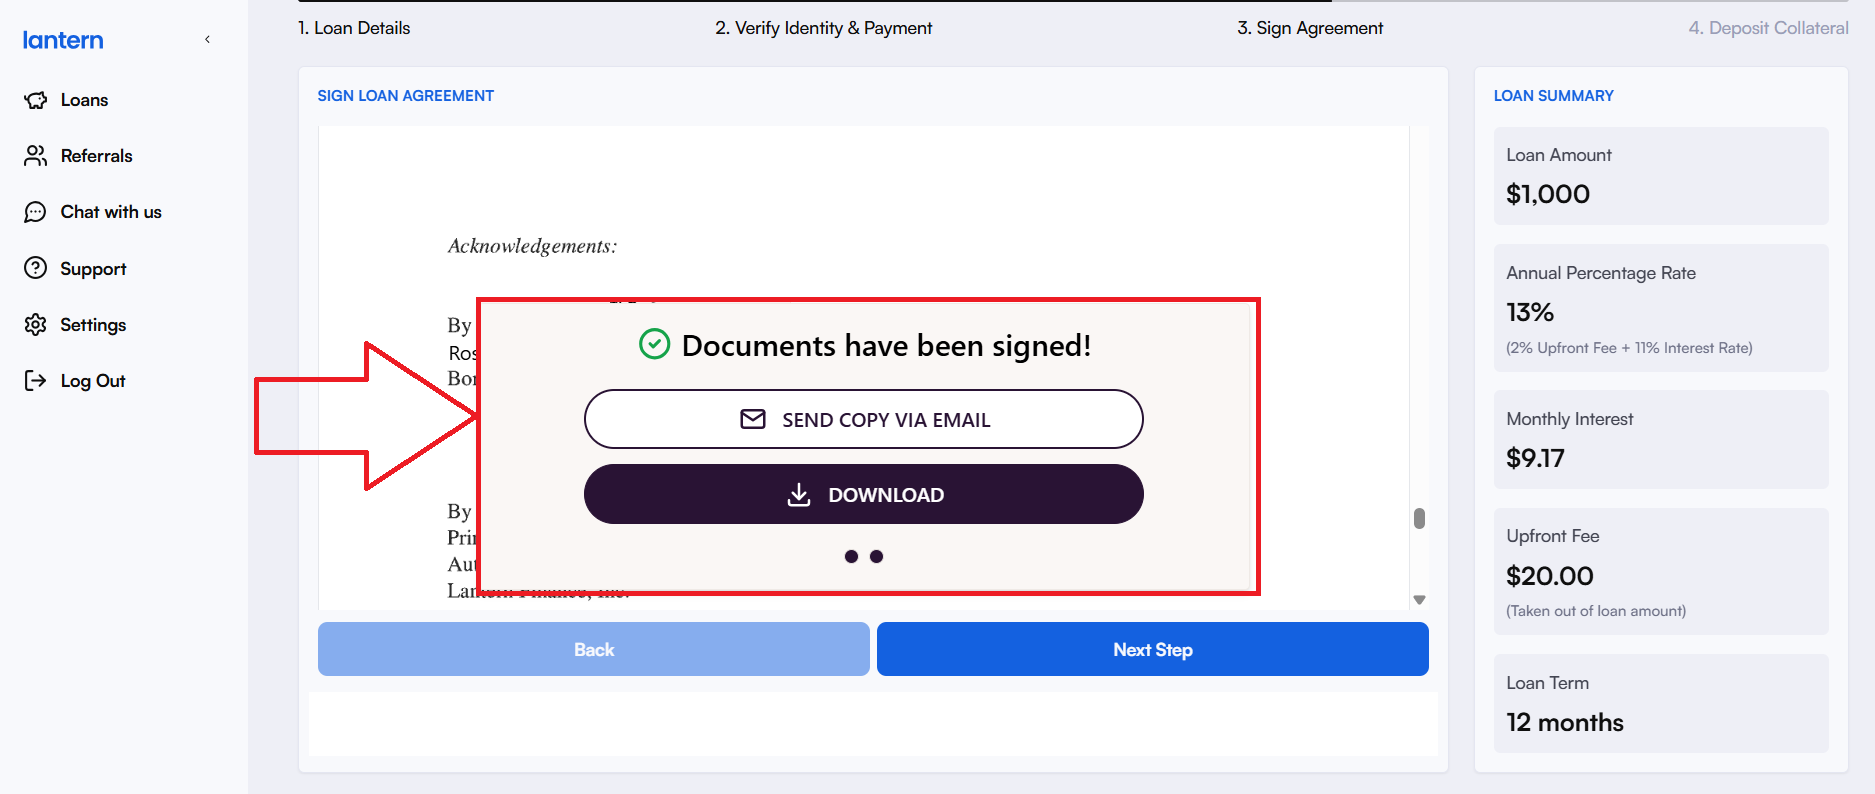
7. Sign Your Loan Agreement – Please read the agreement carefully, and add your digital signature to move one step closer to securing your funds.
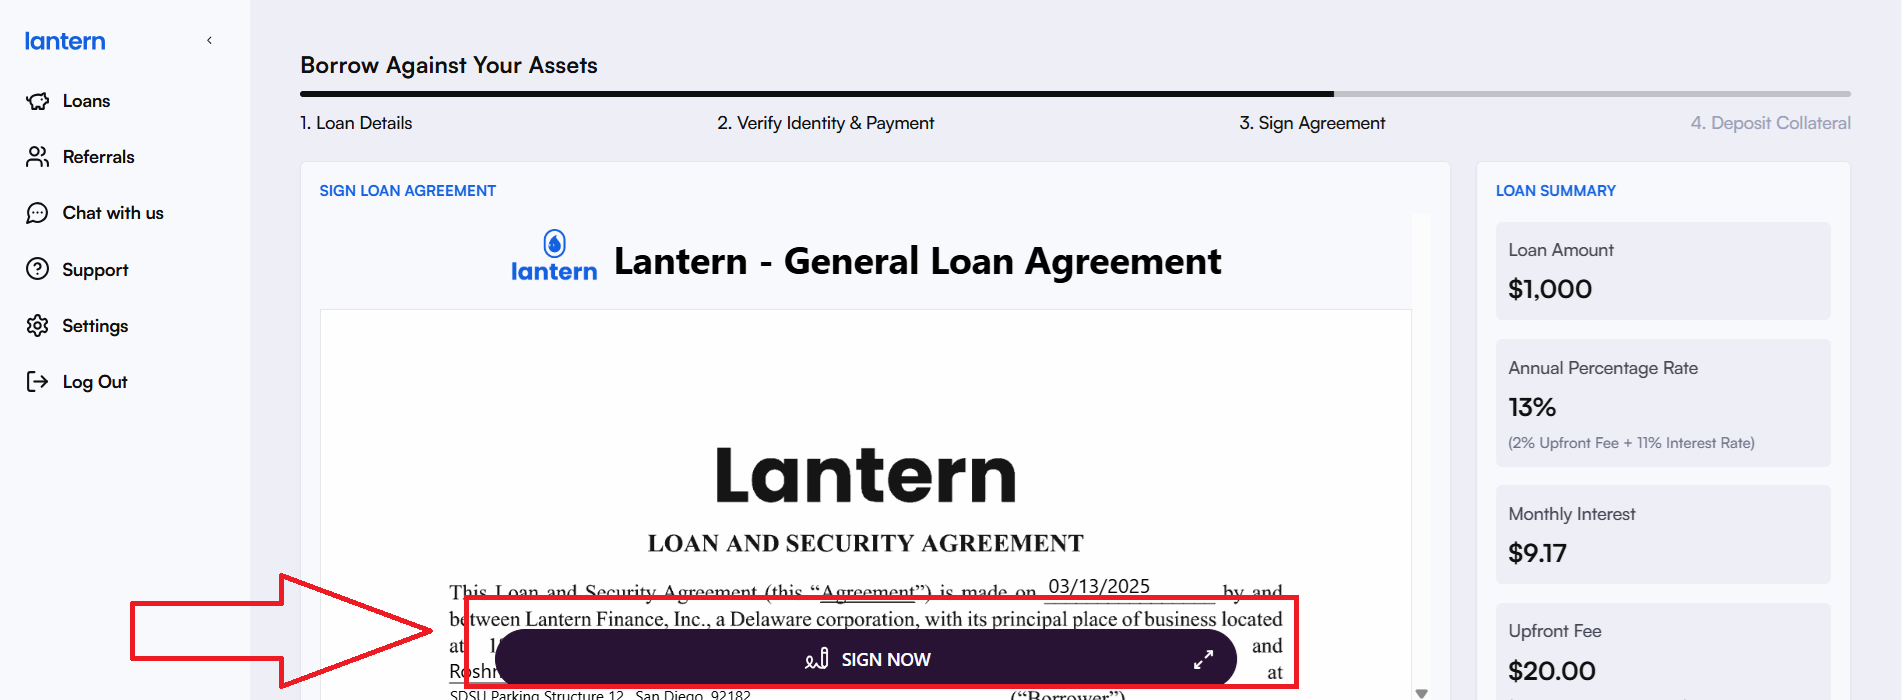
Once you sign the agreement, you can choose to send the copy via your registered email id or download it on your device.
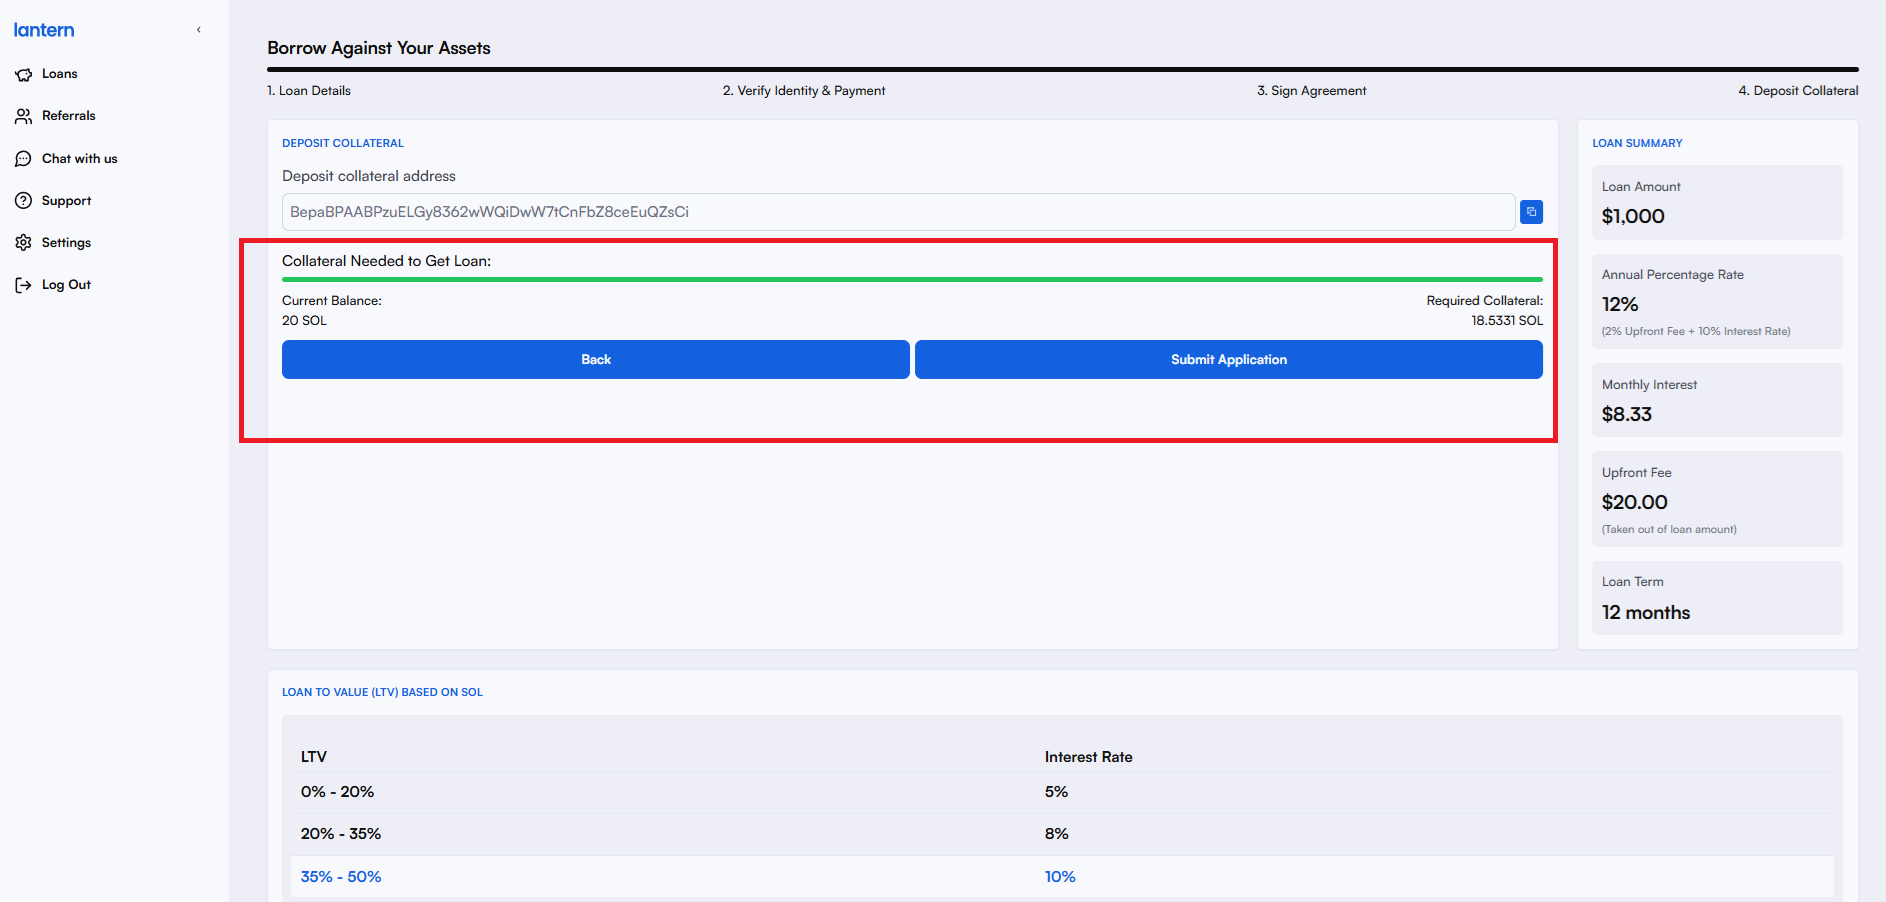
8. Submit Your Application – Signing the agreement shown above and clicking ‘Next Step’ asks you to confirm and submit your loan application.
9. Deposit Your Solana– Once you submit your loan application, you'll be prompted to deposit Solana as loan collateral if you’re a new customer or if you don’t have a collateral balance with us.
If you’re an existing Lantern Finance customer and have an available collateral balance, your dashboard should reflect your current balance as shown below:
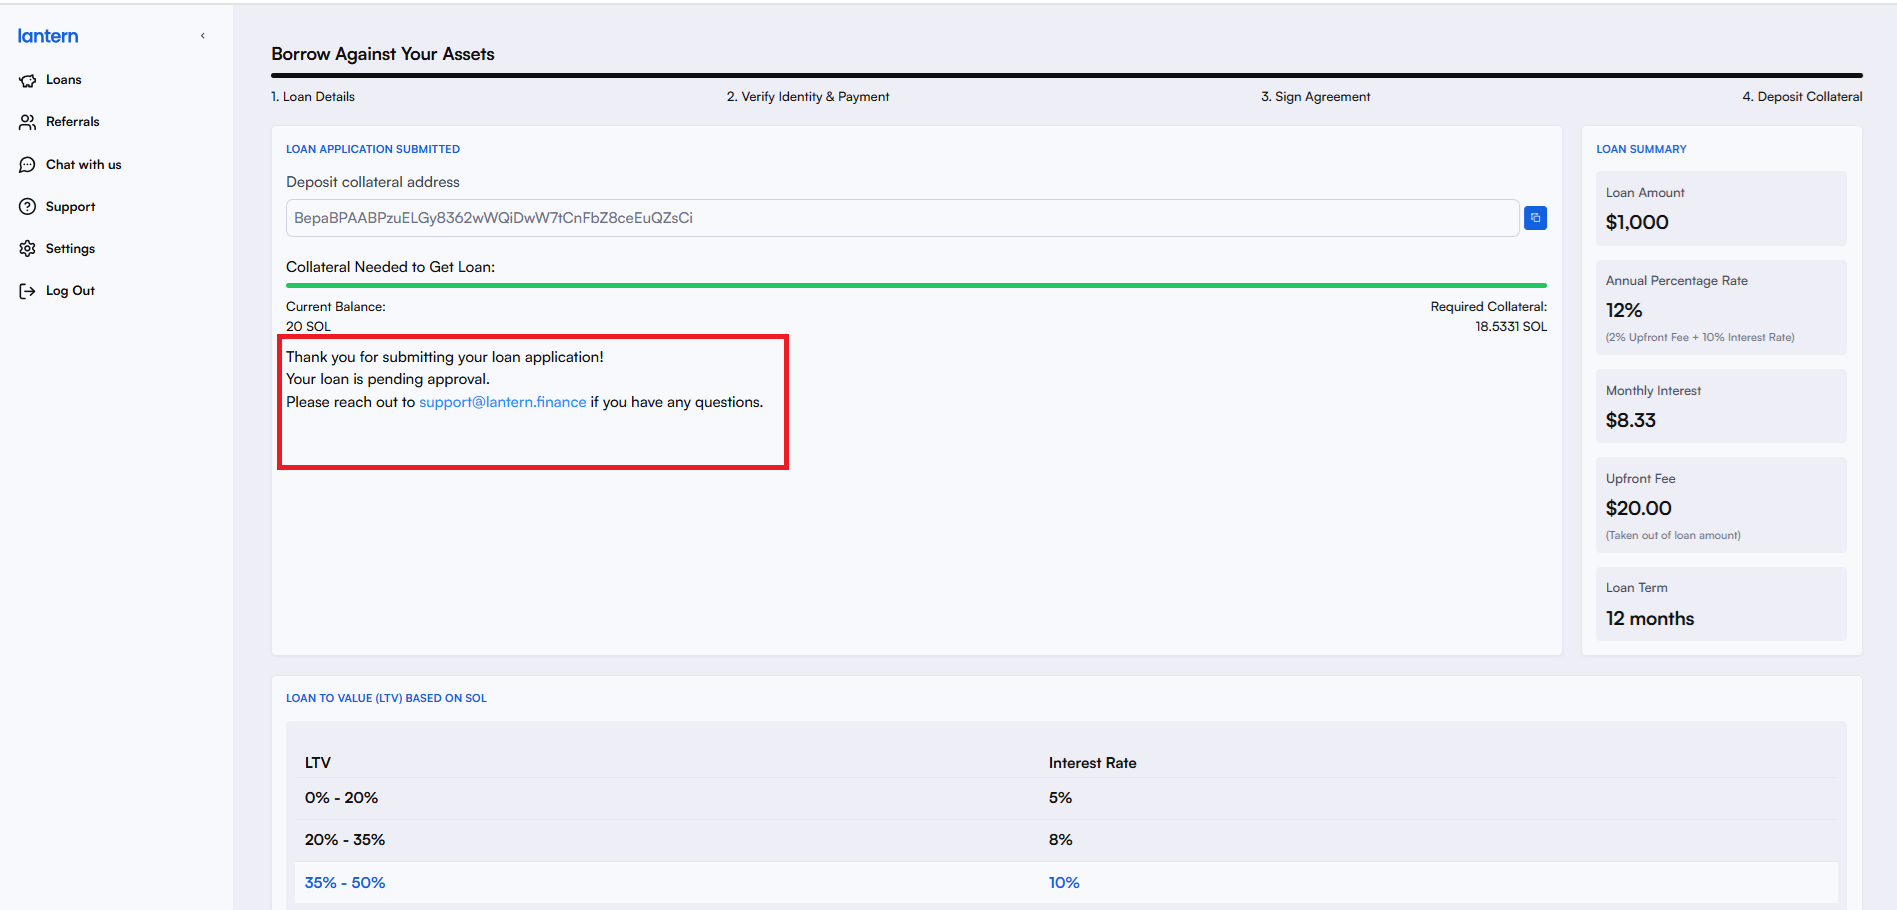
10. Get Approved – Once your collateral is deposited, your loan application will be processed. We generally approve loans within an hour or as soon as possible. Your dashboard looks like this after you’ve submitted your application.
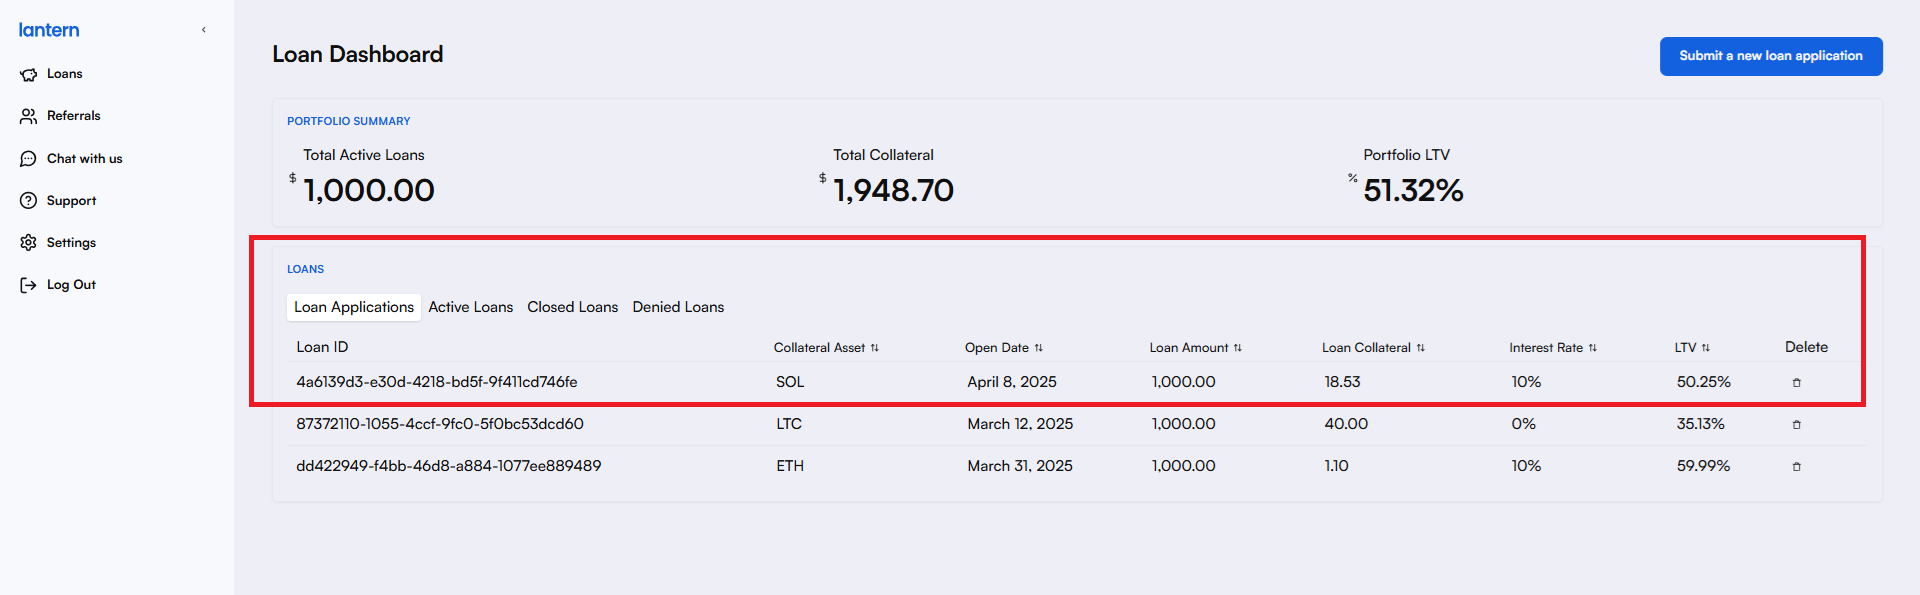
11. Once your loan is approved, you should get an email confirmation. You can also check your dashboard to see your active loans and other deets.
12. Receive Your Funds – Upon approval, the loan amount will be transferred to your designated account promptly.
13. Manage Your Loan – Stay on top of your repayments and collateral value to ensure a smooth borrowing experience.
Market fluctuations can impact your collateral value, so regularly check your Loan-to-Value (LTV) ratio to avoid margin calls or liquidation risks. Need to adjust your loan terms? Your Lantern dashboard makes it easy to manage everything in one place.
Don’t wait—apply today! If you have any questions or need assistance at any point while creating your loan application, don’t hesitate to reach out to us at [email protected] or book a call with us for live support here.